The Complete Guide to Gallery Walls
DIY tips and design hacks for creating the perfect gallery wall

Design: Jacques Grange, Photo: Francois Halard (Left), Design: Pierce & Ward, Photo: Michael P. H. Clifford (Right)
Steering away from tablescapes for a moment, I wanted to share a few gallery wall hacks because wall-scaping is no easy task. Without a plan, you risk damaging your walls, ending up with an unbalanced layout, and wasting a whole lot of time and patience.
Recently, I helped my friend tackle a gallery wall project. It took us about an hour and a bottle of wine to get it just right. You can find the video of us putting the wall together on Instagram and TikTok. I can’t take full credit for the tips below, though. Ashley’s Type A personality had us fully prepped with half the ideas already in place. S/O, Ashley Flanigan!!
I also love referencing The Interior Design Handbook by Frida Ramstedt. It's an incredibly helpful resource, filled with clear, thoughtful guidance and easy-to-follow illustrations. I hope these combined tips help you create a wall that feels intentional, balanced, and completely your own.

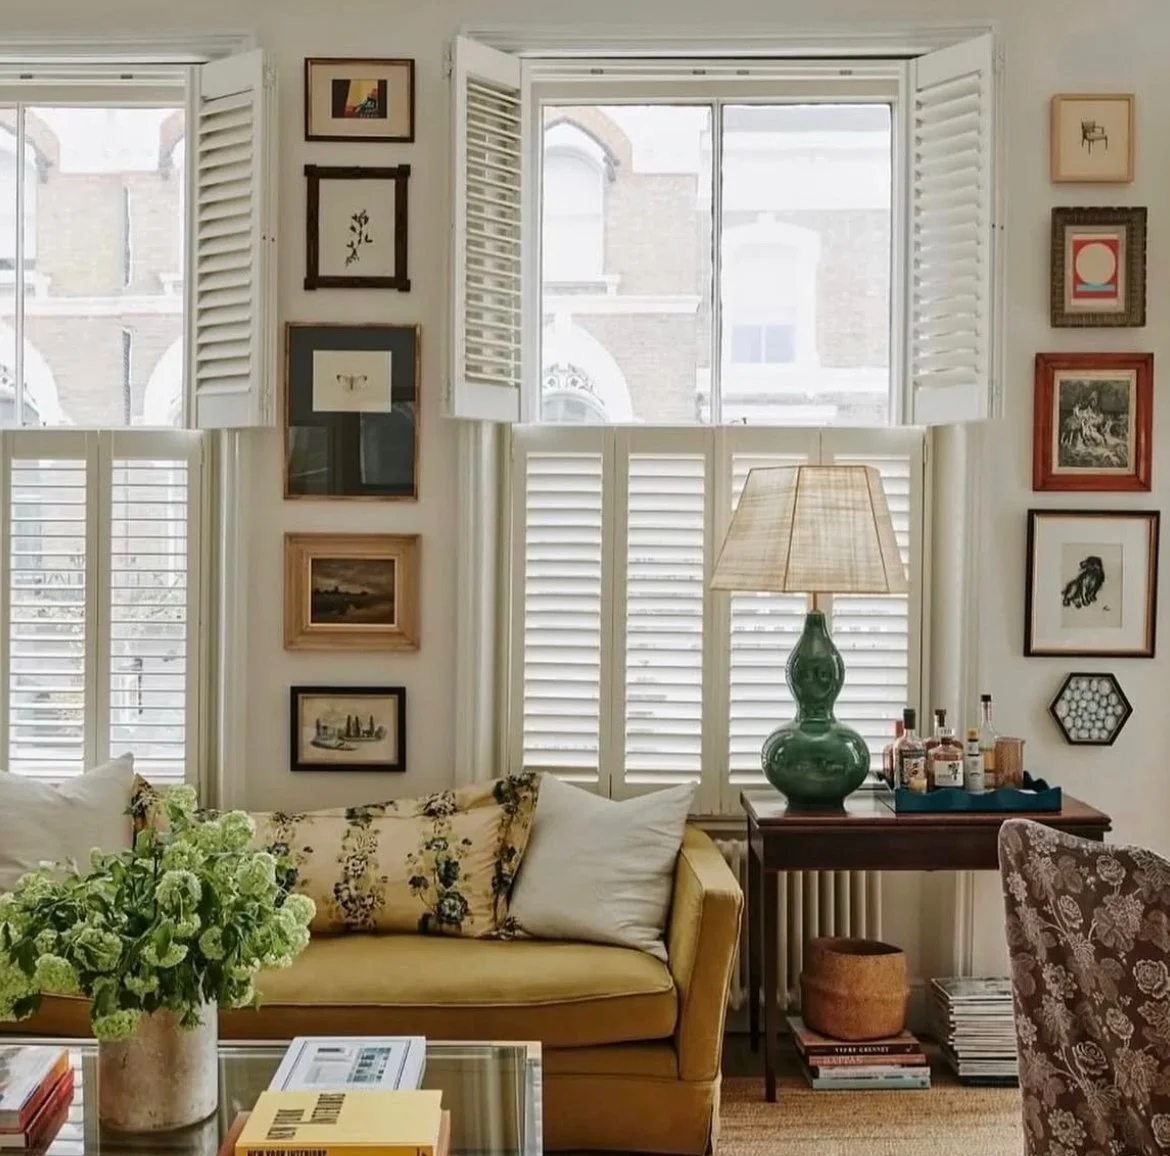
Ashley & Mike’s Gallery Wall in Their NYC Apartment
Design and Layout Tips
Map it out visually
Use an online platform to plan the layout before you start hanging anything. I like using Canva to preview how different arrangements might look in the space, but you can also use CAD programs if you want more precise measurements. This step helps visualize how shapes, patterns, and colors interact next to each other. You can also lay your frames out on the floor, but depending on the size of your gallery, it’s often easier to move things around on your computer screen than to rearrange them physically.
Use odd numbers
Odd-numbered groupings (like 3, 5, or 7) tend to be more visually dynamic and balanced than even-numbered ones. This principle applies to many aspects of interior design and works especially well when creating gallery wall arrangements.
Keep spacing consistent
Aim for even spacing between pieces, typically 2 to 4 inches, to maintain visual balance especially when the wall has a lot going on. Some designers prefer placing frames very close together, “cheek by jowl,” to create a bold, unified shape. It all depends on the look you want.
Mix, but unify
Add different patterns, textures, colors, or shapes when your wall design starts to feel flat. Layer in unexpected objects like a small mirror, textile, sconce, or sculptural piece for extra depth and interest. For example, Ashley added a clock to her layout, which helped break up the repetition of framed art and added dimensional contrast. Mixing elements creates visual interest, but unifying them—whether through matching frames, a consistent theme, equal spacing, similar frame shapes, or color scheme—can help to keep the gallery wall cohesive, especially when the design becomes more complex.
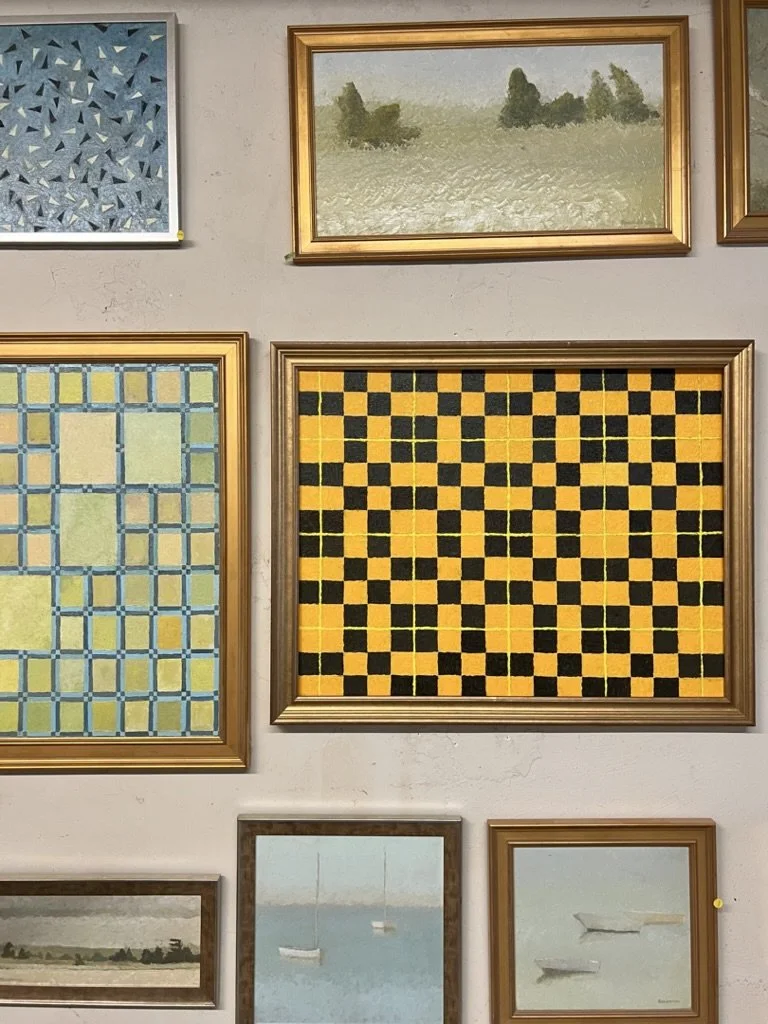
Design: @sally.wilkinson.design, Featured in: @houseandgardenuk
Design Layout Options
Box Shaped Outline - Artwork is arranged within a clean rectangular or square shape.
Midline - Pieces are centered along a single horizontal line.
Base Line - All artwork aligns along the bottom edge, creating a straight line along the bottom.
Top Line - Frames are aligned along the top edge, creating a straight line across the top.
Plumb Line (shown above) - Frames are centered in a vertical line to guide the eye up and emphasize height.
Leading Line - Art follows a diagonal or directional line to guide the viewer’s eye across the wall.
Wave-Shaped Outline - Art is arranged in a gentle curve to add movement and rhythm to the display.
Fluid Outline - A freeform layout with no strict lines, offering a relaxed and organic look.
A photo I took at an art gallery in Brewster, MA
Practical Tips:
The 145 Principle - The rule of thumb for interior designers is to hang pictures so that the center of the artwork or gallery wall is 57 inches (145 cm) from the floor. This height is optimal for most people to comfortably view the pieces. However, if the proportions are off (your ceilings are high), try centering the midline of the pictures about two-thirds of the way up from the floor instead.
Above the sofa - When hanging art above a couch or sofa, leave 6 to 12 inches of space between the top of the sofa and the bottom of the frame to ensure there is enough room for your head when seated.
Balance with size and placement - Place larger, visually heavier artworks on the left side of the gallery wall. Since we read from left to right, our eyes naturally go there first. Also, larger pictures tend to look best hung lower within the overall arrangement.
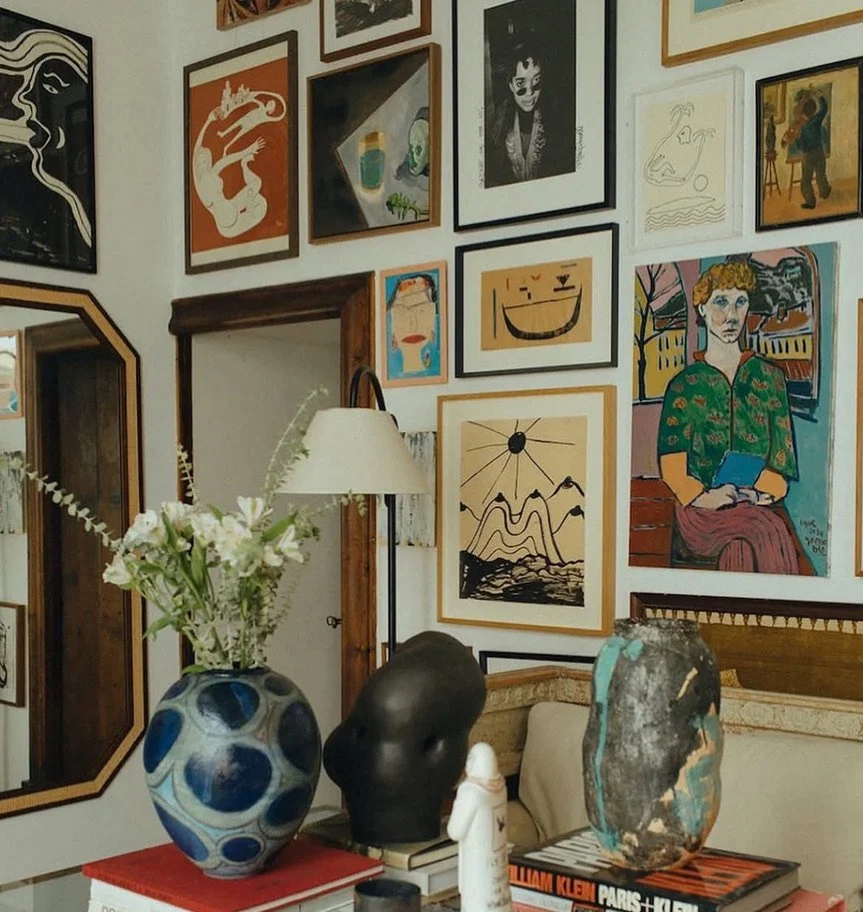
Photo by @mirawickman, post via @themaximalistdreamer of the @dustydeco showroom in Mallorca
Gallery Wall Hanging Tips
Create paper cutouts for each piece of art
Trace your frames onto thin paper (parchment paper works well or old wrapping paper works great too), cut them out, and tape them to the wall using blue painter’s tape (good for not damaging your walls). This helps you play with placement and spacing before committing to nails or hooks. Once you’re happy with the layout, you can just hammer directly through the paper and rip the paper away after the nail is in.Mark the nail spot using a paste
A dab of toothpaste or lotion on the back of your hanging hardware can help you precisely mark where your nail should go. Just press the frame gently against the wall to transfer the mark, then wipe away any residue after. We used spackle which worked perfectly!Use a nail guide
Protect your fingers and keep the nail steady while hammering by using a nail guide (similar to this one or a clothespin works well too).
♠ Grace House Rule: Let your gallery wall evolve over time. Add new artwork or objects, switch out a frame, or rearrange pieces to bring a fresh perspective whenever your space needs a refresh.
*READ ON SUBSTACK
SHOP THE SCAPE
Shop the featured decor or discover similar pieces to style your own scape
This shop may contain affiliate links, which means I can earn a commission if you make a purchase through my link at no extra cost to you! Learn more about affiliate links here.


